Knowledge Base Article
HOW To: Work from home with desktop.jewell.edu on a windows computer
** NOTE **
Do not save any data on the Virtual Desktop, because it will be wiped when you logout. You have the option to save to your share drives or personal drive space.
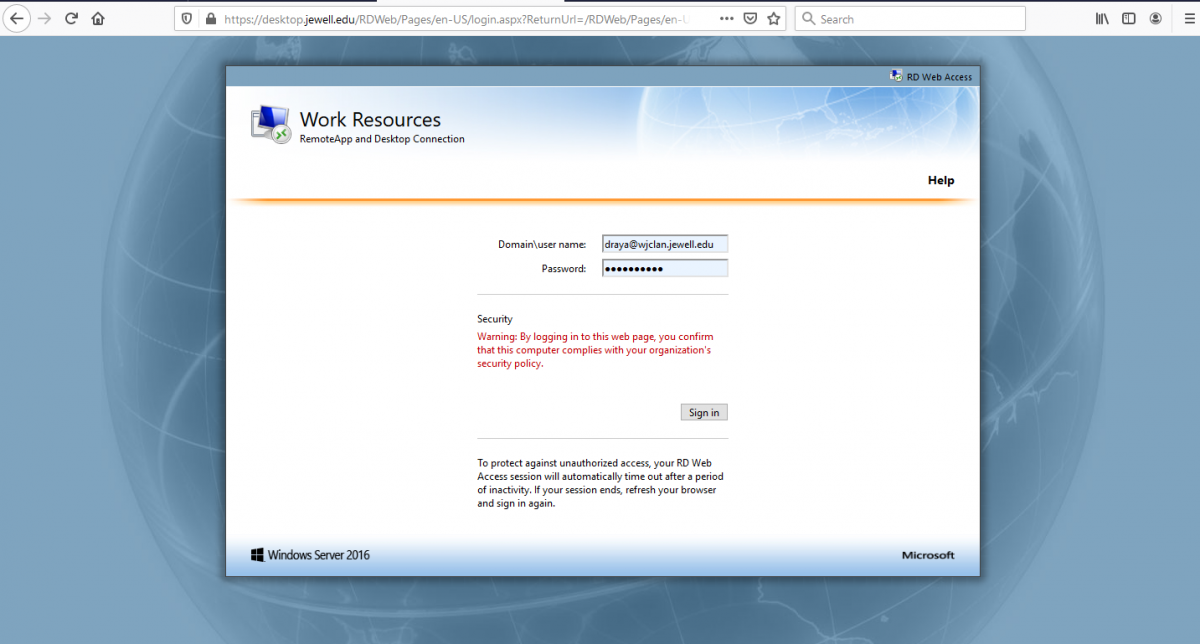
Open a Web Browser such as internet Explorer, Firefox, or Chrome.
Login with your Jewell Username and Password.
You will need to add the domain to your Username. The accepted format is:
The domain is wjclan.jewell.edu
Example: username@wjclan.jewell.edu
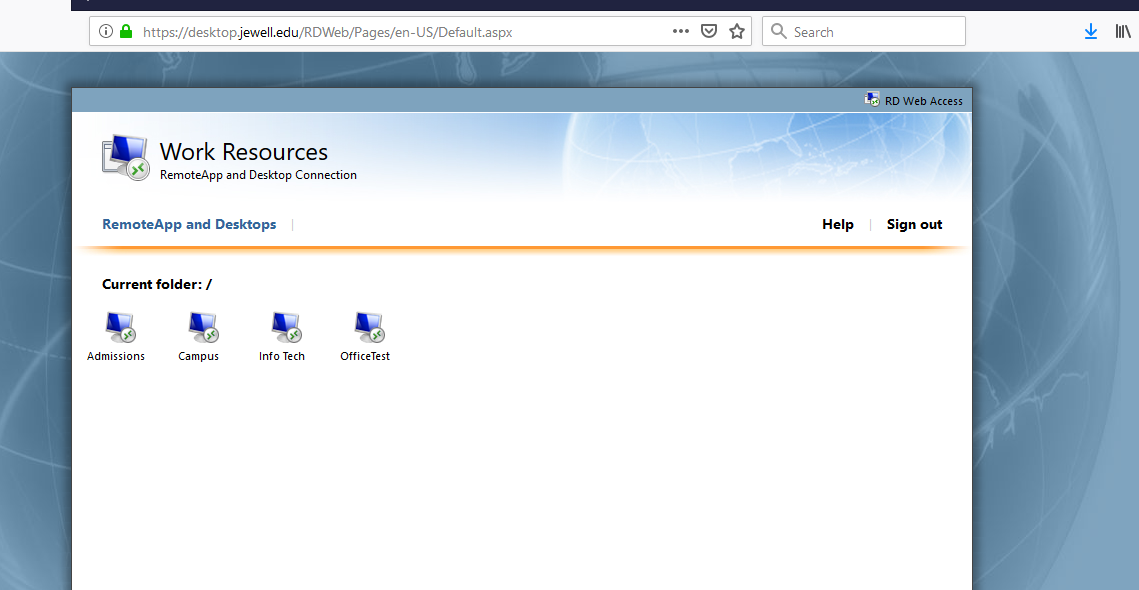
Select the desktop you want to open. Some users will not see all the desktops listed here.
You will only see the ones that you have permission to access.
Click Connect to open the desktop.
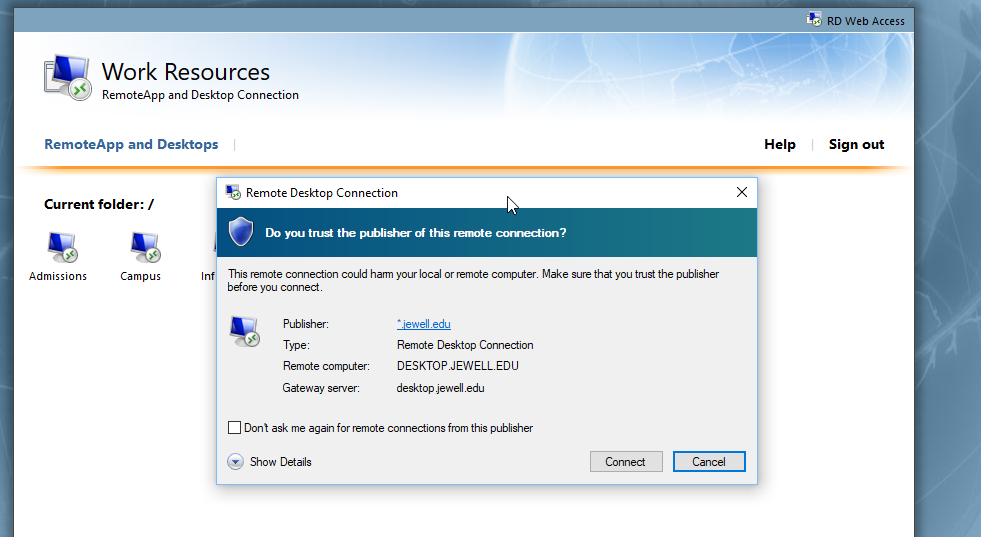
Trust and allow any prompts that may pop up to continue connecting.
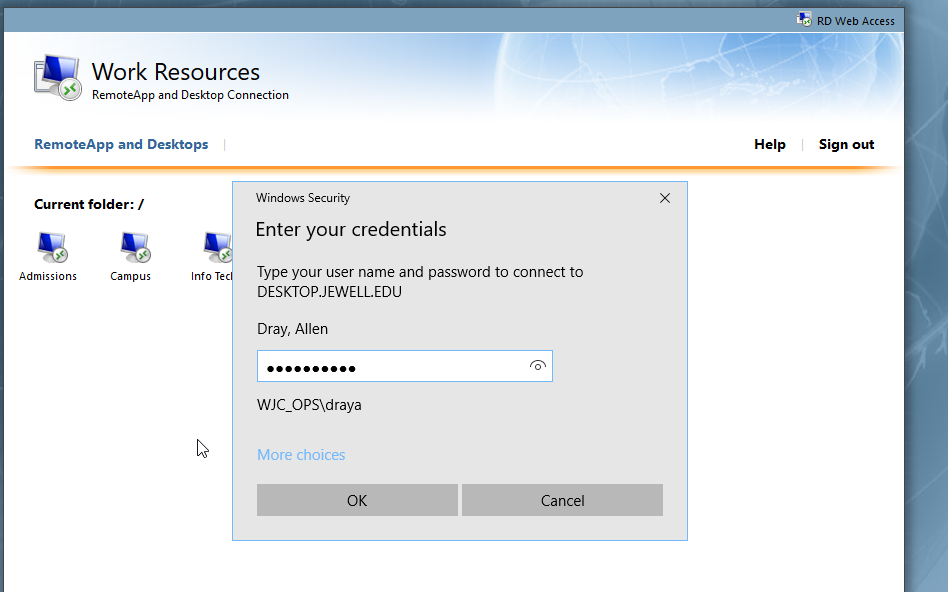
Enter your Jewell Password again to login to the windows desktop.
Wait for windows to load. It can take some time when you first login.
DO NOT close out the black CMD box. It will close on its own when it is finished.
You can now work as if you are on Campus, and you will have access to all of your campus resources.

Finding Your Network Share files
Now that you have opened a windows desktop, you are ready to access your department share. If your network shares are not present in the left hand pane, you can access them using File Explorer. Follow the instructions below. These instructions are based on Windows 10. Some items may vary slightly so please use good judgment if you are working Windows 7.
1. Search for File Explorer  and select This PC on Windows 10 versions. Select Computer in Windows 7 versions. and select This PC on Windows 10 versions. Select Computer in Windows 7 versions.
2. If you know the location of your department share, enter the location in the address bar shown in the image. If you do not know your share location, enter the location as shown in the image below just as it is typed.
3. Enter the network path to your Department’s Share.
Example:
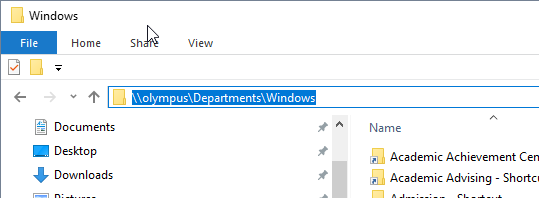
3. If you entered the Olympus location, you will see a list of shortcuts to all windows shares. Scroll though until you find your specific department and double click on it to open. You can open any share to which you have rights to access.
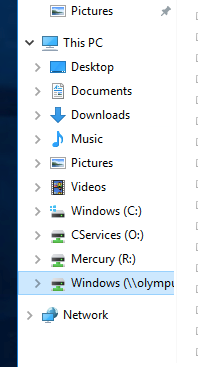
4. Make note of the address in the new window that opens. This is your department share.
.png)
Mapping your network drive
Do not save any data in documents or on the desktop of any image. The data is wiped when the machine resets for the next user. Only save to the local computer or to your drive share. You need to map the work drive each time you open a desktop at desktop.jewell. It will expedite this step each time you login if you remember your drive share location.
1. While in File Explorer and depending on what version of Windows, right click on This PC forWindows 10, or right click Computer in Windows 7.
2. Click the Map network drive in the drop down menu.
.png)
3. Enter your desired network share location where it says folder, leave the drive letter as the default, and click Finish.

4. You can now choose it under This PC as a drive.
** You will need to do this each time unless you see it mapped at login. In most cases, everyone’s share is mapped at login. If not, you will need to perform these actions at each login. Again, do not save directly to the VM. The data is wiped automatically when you disconnect.
If you experience issues getting connected or accessing your department share, go to https://helpdesk.jewell.edu and open a help ticket. To expedite service, please add a detailed description of your issue.
^ back to top ^ |